
Desert Online General Trading LLC
Dubai, United Arab Emirates
Desert Online General Trading LLC
Dubai, United Arab Emirates
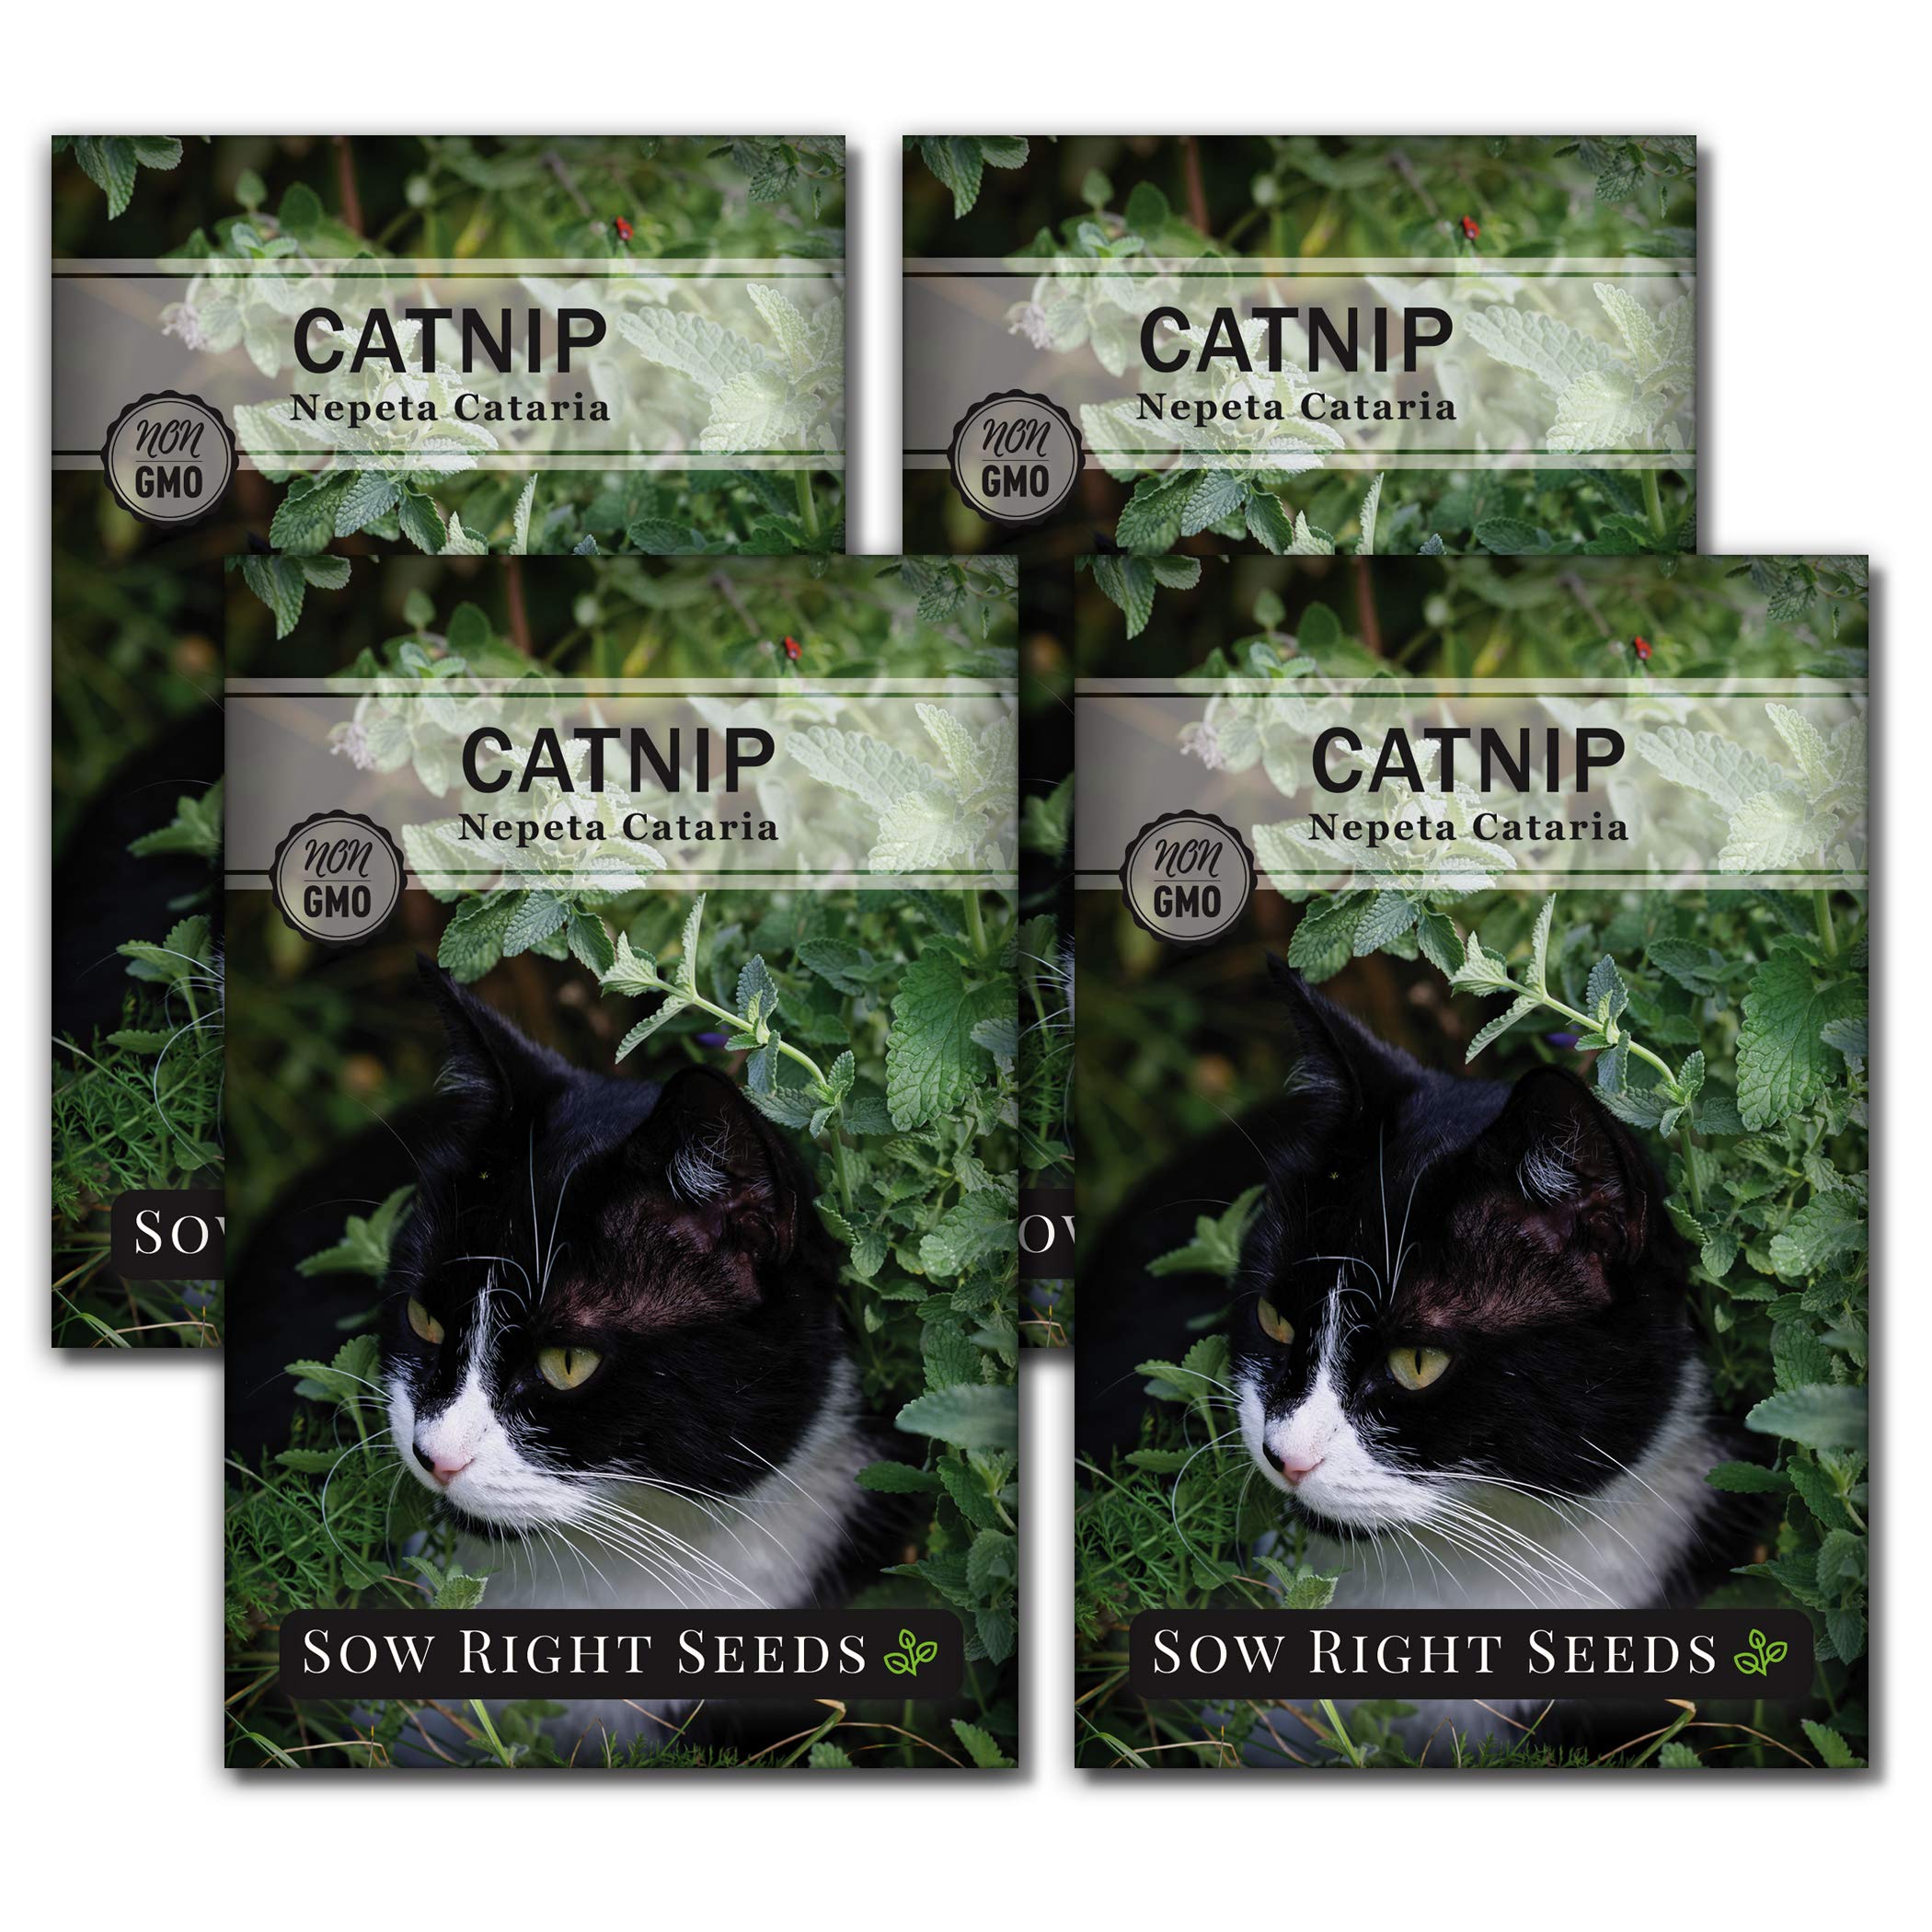


Sow Right SeedsCatnip Seed for Planting - Popular Herb for Happy Cats - Non-GMO Heirloom Packet with Instructions to Plant and Grow - A Gift for The Cat Lover - Perennial Herb Indoors (4)
K**K
Better chance for seeds to sproat if you read my review
Catnip seeds are notoriously difficult to grow no matter what brand I buy. I found the best way is to make sure planting soil is well saturated and loose, sprinkle just a few seeds evenly spaced, cover with Saran wrap, leave in dark cool place, let it germinate tiny leaves, remove Saran wrap and place in strong sun light, make sure soil around each tiny sproat is moist till they grow to 3 inches tall. Fully mature catnip 10 inches or taller don't like too much water. Dampen soil with fine mist only when soil is noticably dry or leaves begin to wilt. If the leaves turn yellow, you are over watering. Leaves should be healthy green color. Fully mature plants will sproat flowers and then seeds, which you can dry out and plant in new soil. Catnip does not like to be replanted because the roots are very fragile. Instead sprinkle new potting soil when the soil gets low or depleted in nutrients.
T**K
Definitely Good Seeds - UPDATE: Cat is a Maniac for these Plants!
The package said they can be hard to grow, so I put a few seeds into the starter puck I typically start all my seeds with and about 5 tiny sprouts popped up. I call that success and better than what I felt was promised on the packaging. Definitely good seeds!(I’ll update this later when the plants are big enough my cats can have fun with them!)UPDATE: WATCH YOUR CAT! I had 4 plants that I had started growing from these seeds. My cat started noticing them after they sprouted so I kept a glass jar over them so he couldn’t get to them. This morning I took the jar off to water them, and replaced it with a larger, plastic container (to let air circulate through). BAD IDEA! He pushed off the container and managed to eat 3 of the 4 sprouting little plants! UGH! Well, at least now I know that my cat will absolutely LOVE these if I can manage to grow them to the point where he can just nibble on them without killing the whole plant!ANOTHER UPDATE: My cat is so crazy for this catnip, I’ve now had to move the plants into a terrarium so that they can grow bigger! (See pictures.)
S**N
100% germination
fantastic germination rate. i put 10 seeds in the freezer for about 20hrs then i put them in a cup of water with a tsp of h2o2 (29%). 24hrs later all seeds had opened and were ready to go, every single one. planted in pots around my garden to keep critters out, very happy so far
6**5
Curiouser and curiouser
Packaging, thickness and warmth? I'm being asked to rate on these three criteria... that's weird.And I don't know what to think about the seeds, either! I started them in potting soil under plastic in a west facing California window. I'm estimating I got about a 30-40% germination rate. But the seeds that did germinate are doing really well, and I've discovered they propagate beautifully from cuttings so I'll definitely have enough to share with to the neighbors. But I'm not sure I will, because I can't figure out what good they are.I ordered them to grow for my cats, who adore store-bought catnip, but they react to these the way they'd react to the smell of gasoline. Cringe and walk away. Fresh and dried. The plants don't smell anything like various brands of catnip we've purchased, in fact they smell EXACTLY like cannabis with a tiny hint of mint. I was not expecting that at all! But it explains why my cats don't like it because they don't like the smell of weed, either.Since the cats are a no-go, I tried to make a cup of tea with the leaves, but it tasted terrible (and I enjoy a lot of mint and herbal teas). So, yeah. They are very pretty in the window! So for us I'm thinking they're just going to be houseplants til they die off.
A**R
Wonderful!
I put the packet in my freezer for a week before planting like the directions suggested. They all sprouted! Once they grow a couple of inches I will transfer outside.
M**6
Did nothing
Did nothing. I started about 12 seeds and saw nothing. Cute tuxedo kitty on the packaging was the highlight.
J**E
I recommend stratifying the seeds first. These sprouted after just three days
They are very tiny in my photo but a good number of my seeds have started sprouting! I am NOT an experienced gardener, but I found that stratifying the seeds has been pretty straightforward.If you're a newbie like me and need help with these, I planted in early summer and followed these steps:- Made sure that the package was dry and put it in an air tight container.- The instructions say a few weeks, but I placed the container in the freezer overnight (about 8-12 hours)- After removing from the freezer, I filled a bowl with hot (but not painfully hot) tap water.- Empty the seeds into the water and let them soak for about a day, but no more than 48 hours. Some of the skin might peel a little but I think that is the protective coating that normally protects the seeds from harsh conditions.- Carefully drain the seeds from the bowl. There might be a better method but I used a mini baking sifter since the seeds are so small.- While the seeds are still damp, make your best attempt to scatter the seeds in a medium flower pot filled with well-draining soil. I used pretty cheap soil and tried to break any large clumps of dirt that I saw.- Gently cover the seeds with a thin layer of soil. However, the seeds are dark and so small I kind of just hoped that at least some of them were properly covered.- Cover the pot with a plastic lid / plastic wrap and place it outside. Water everyday just enough to get the soil wet.- ta-dah you are one step closer to hooking your cat up for life
L**G
Pretty straight forward and easy considering the plant variety difficulty
Quick and good germination rate considering the difficulty of the plant variety. 7 days and i have 5 sprouts, most likely will see more sprouts pop in the next week or so. Used regular potting soil, tossed a handful of seeds (probably about 1/4 of the package, the seeds resemble poppyseeds) evenly across surface, topped with about 1/4 more soil, well watered it, and covered with clear plastic. Kept in ambient temp of 60-80 Fahrenheit (no A/C, use windows and fans at night). Set it near a grow light to simulate indirect light (i.e. shaded area), and voila! Probably going to leave covered for another week or so to allow for maximum sprouting.
Trustpilot
2 months ago
1 week ago