
🖤 Elevate your ideas on a sleek black canvas — where creativity meets modern edge.
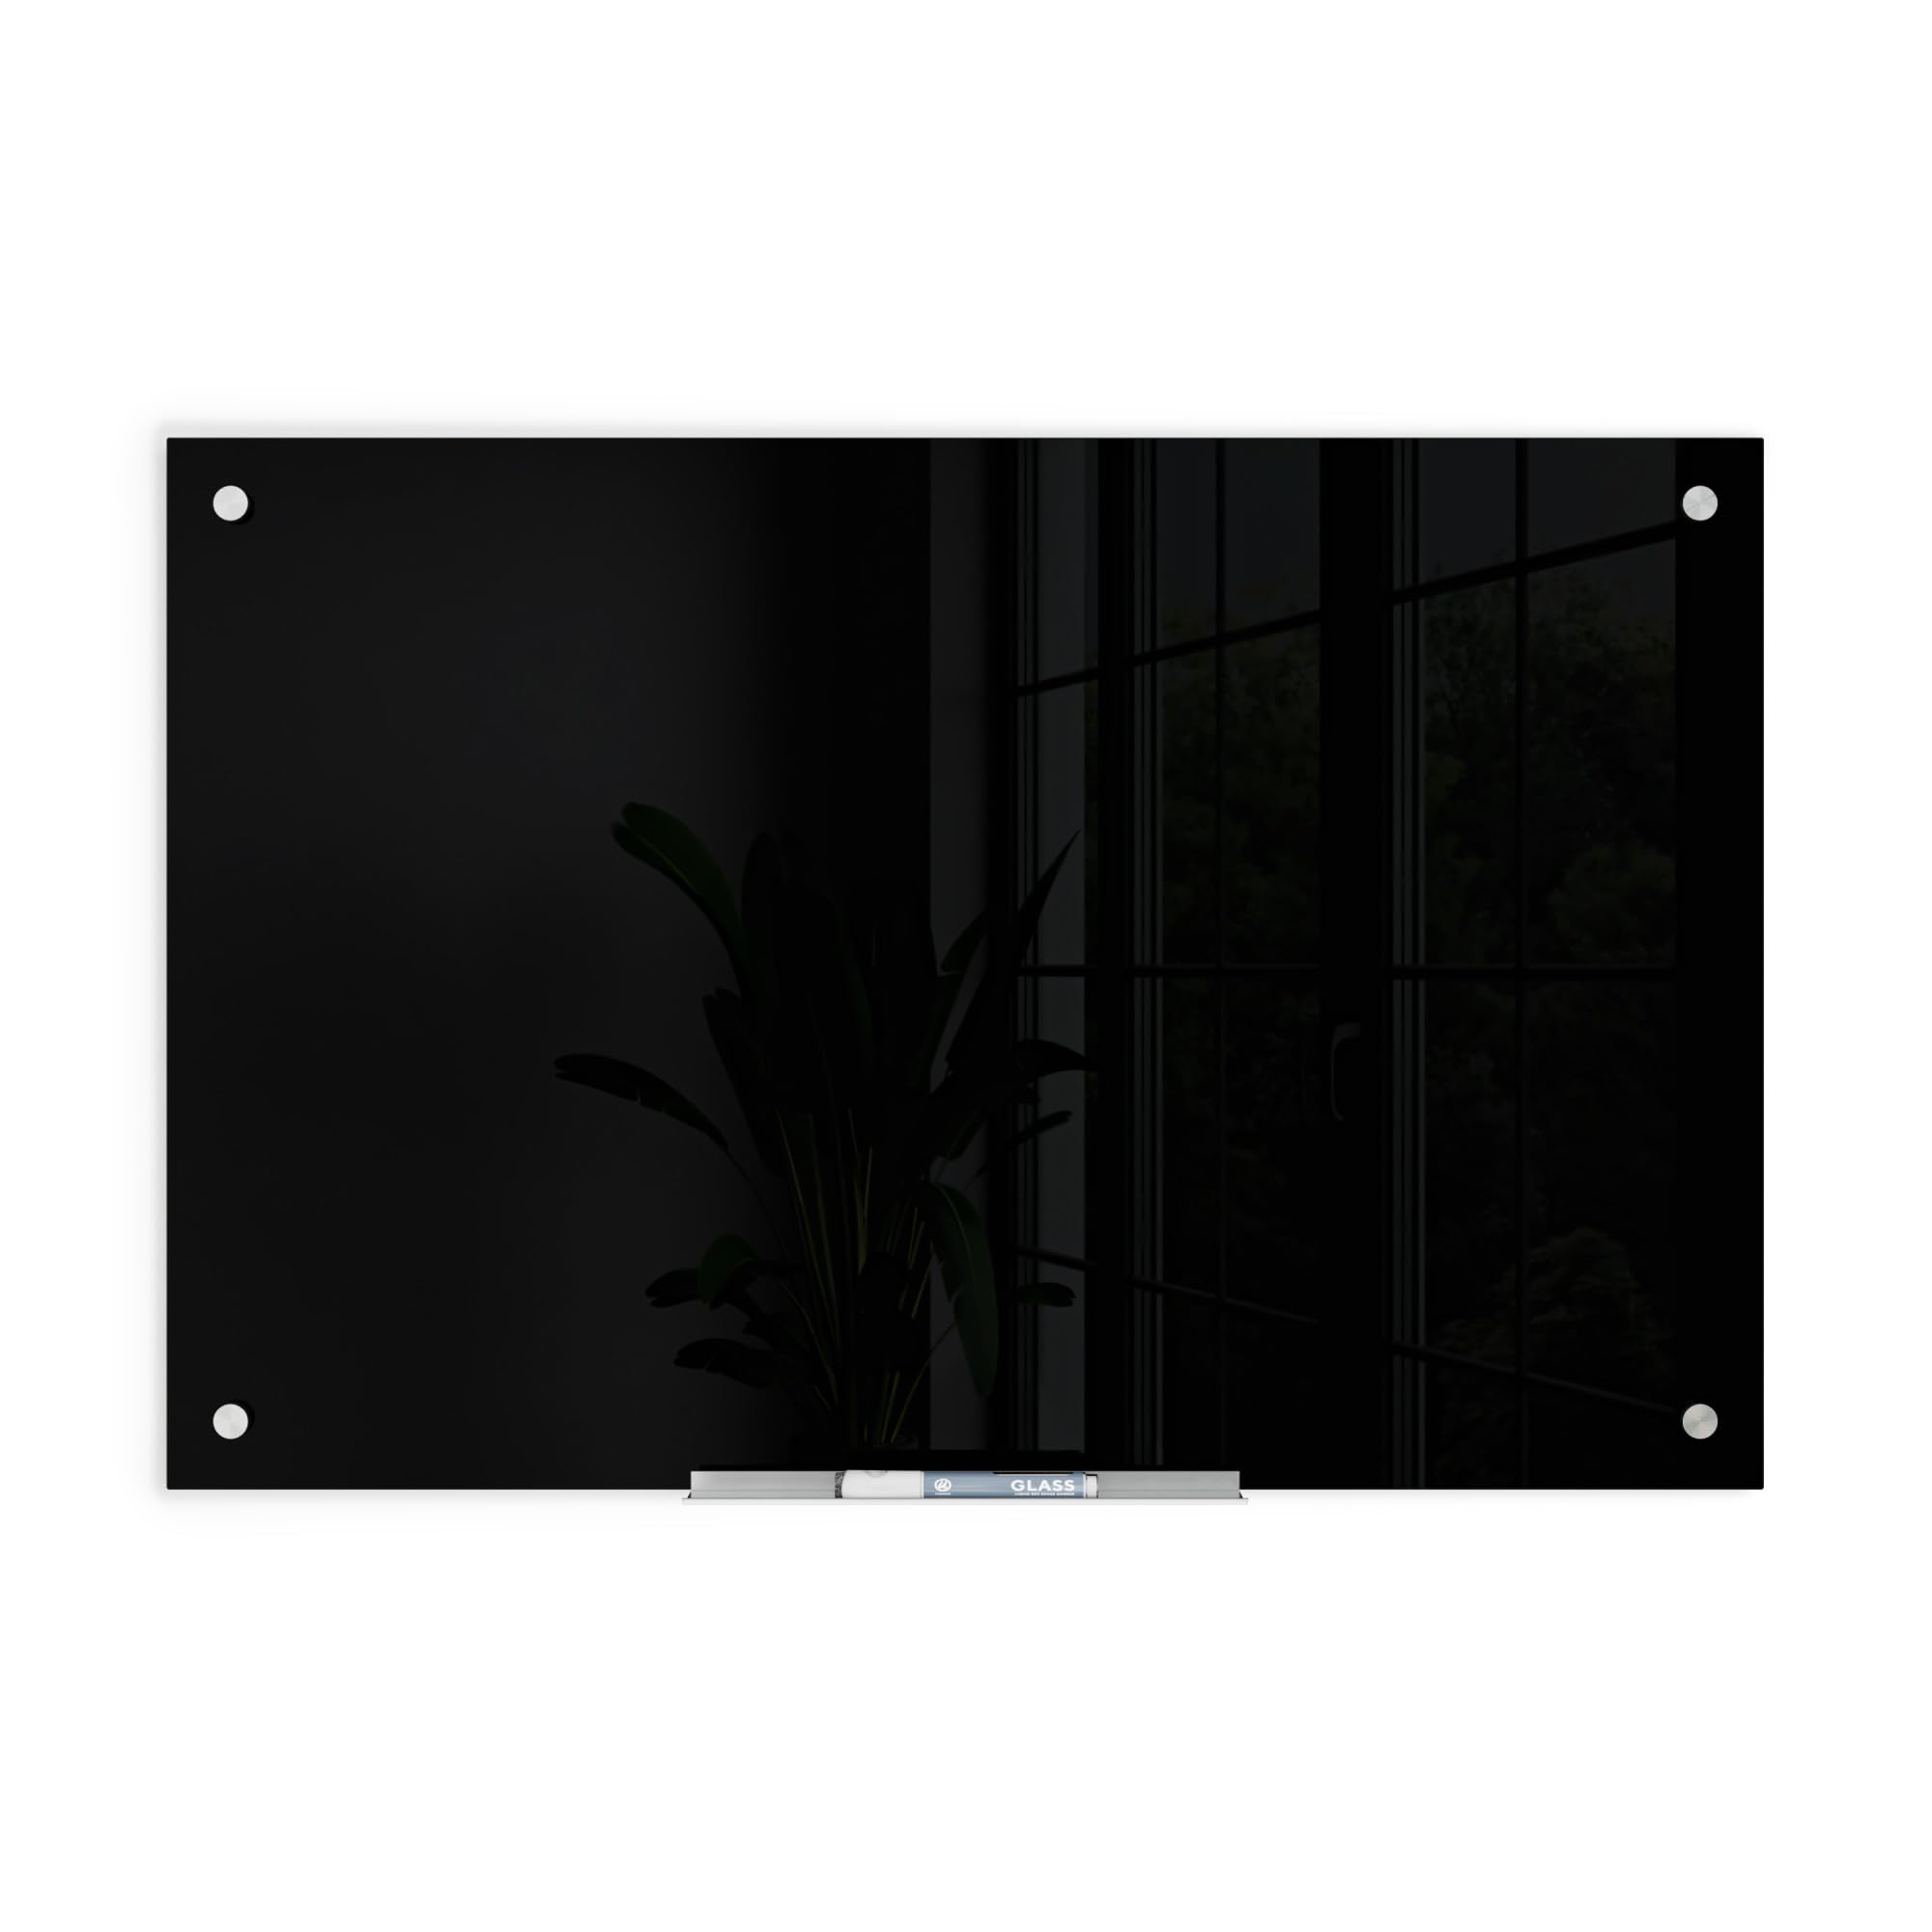
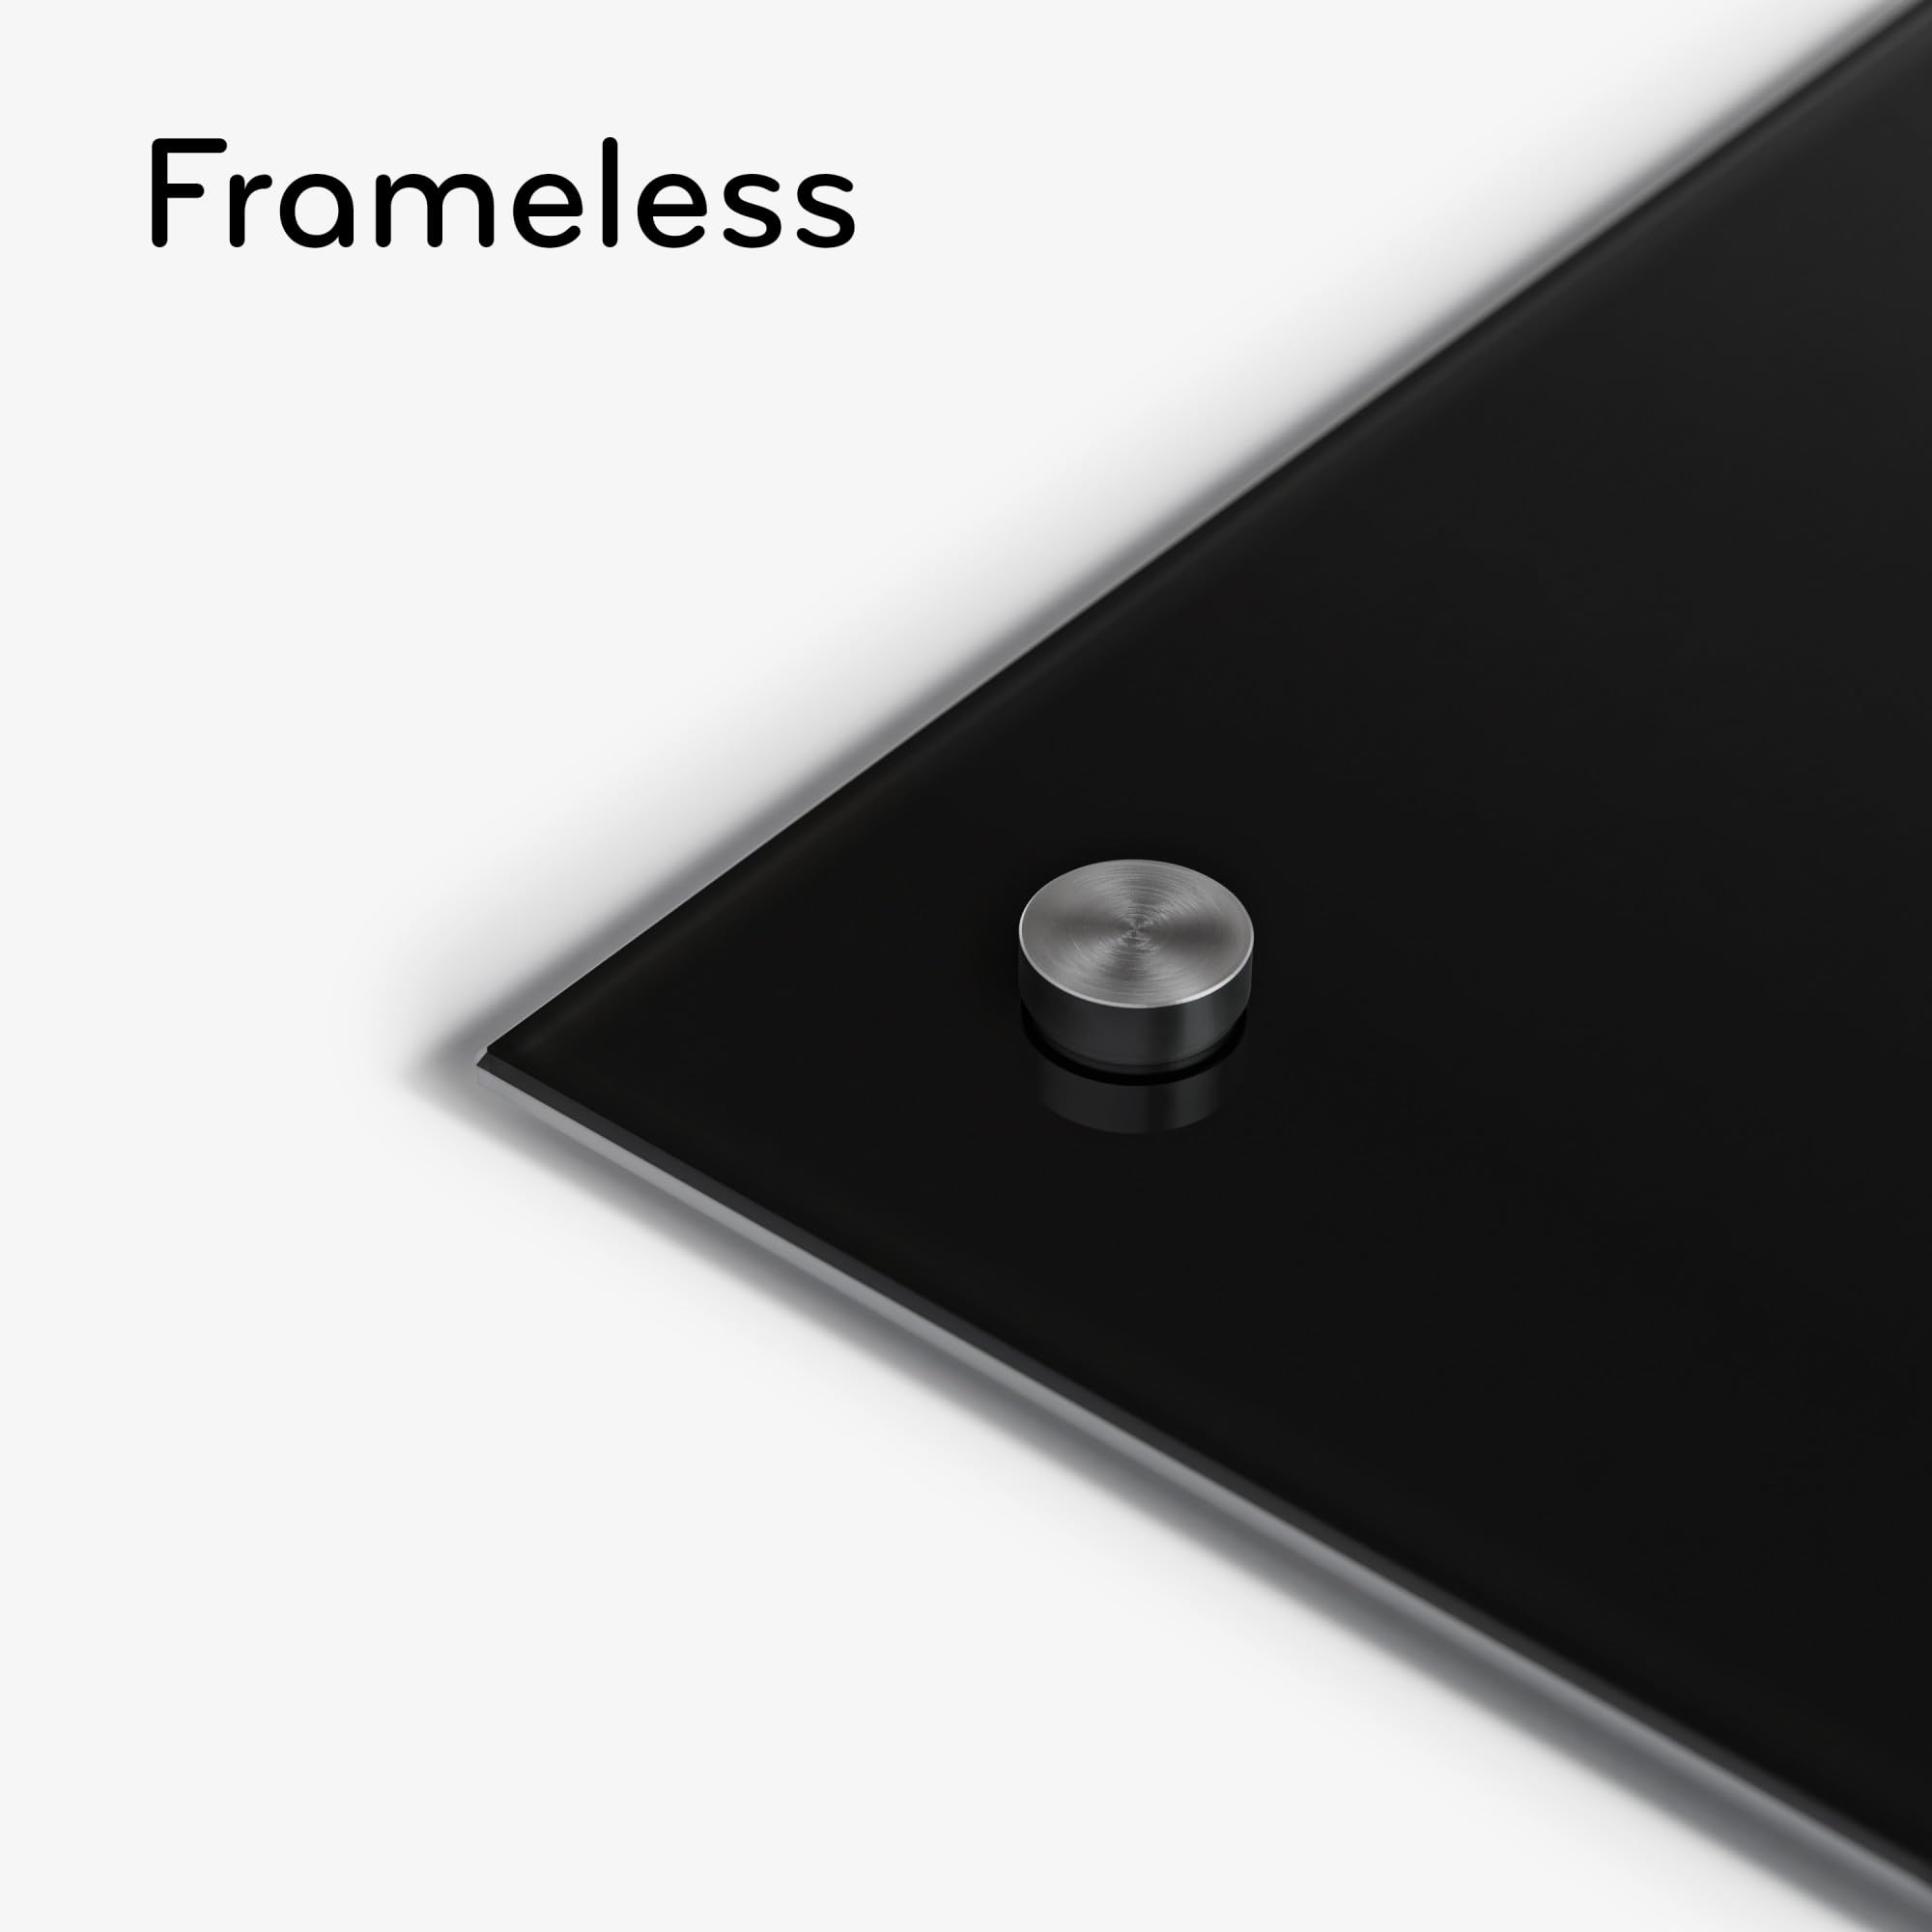
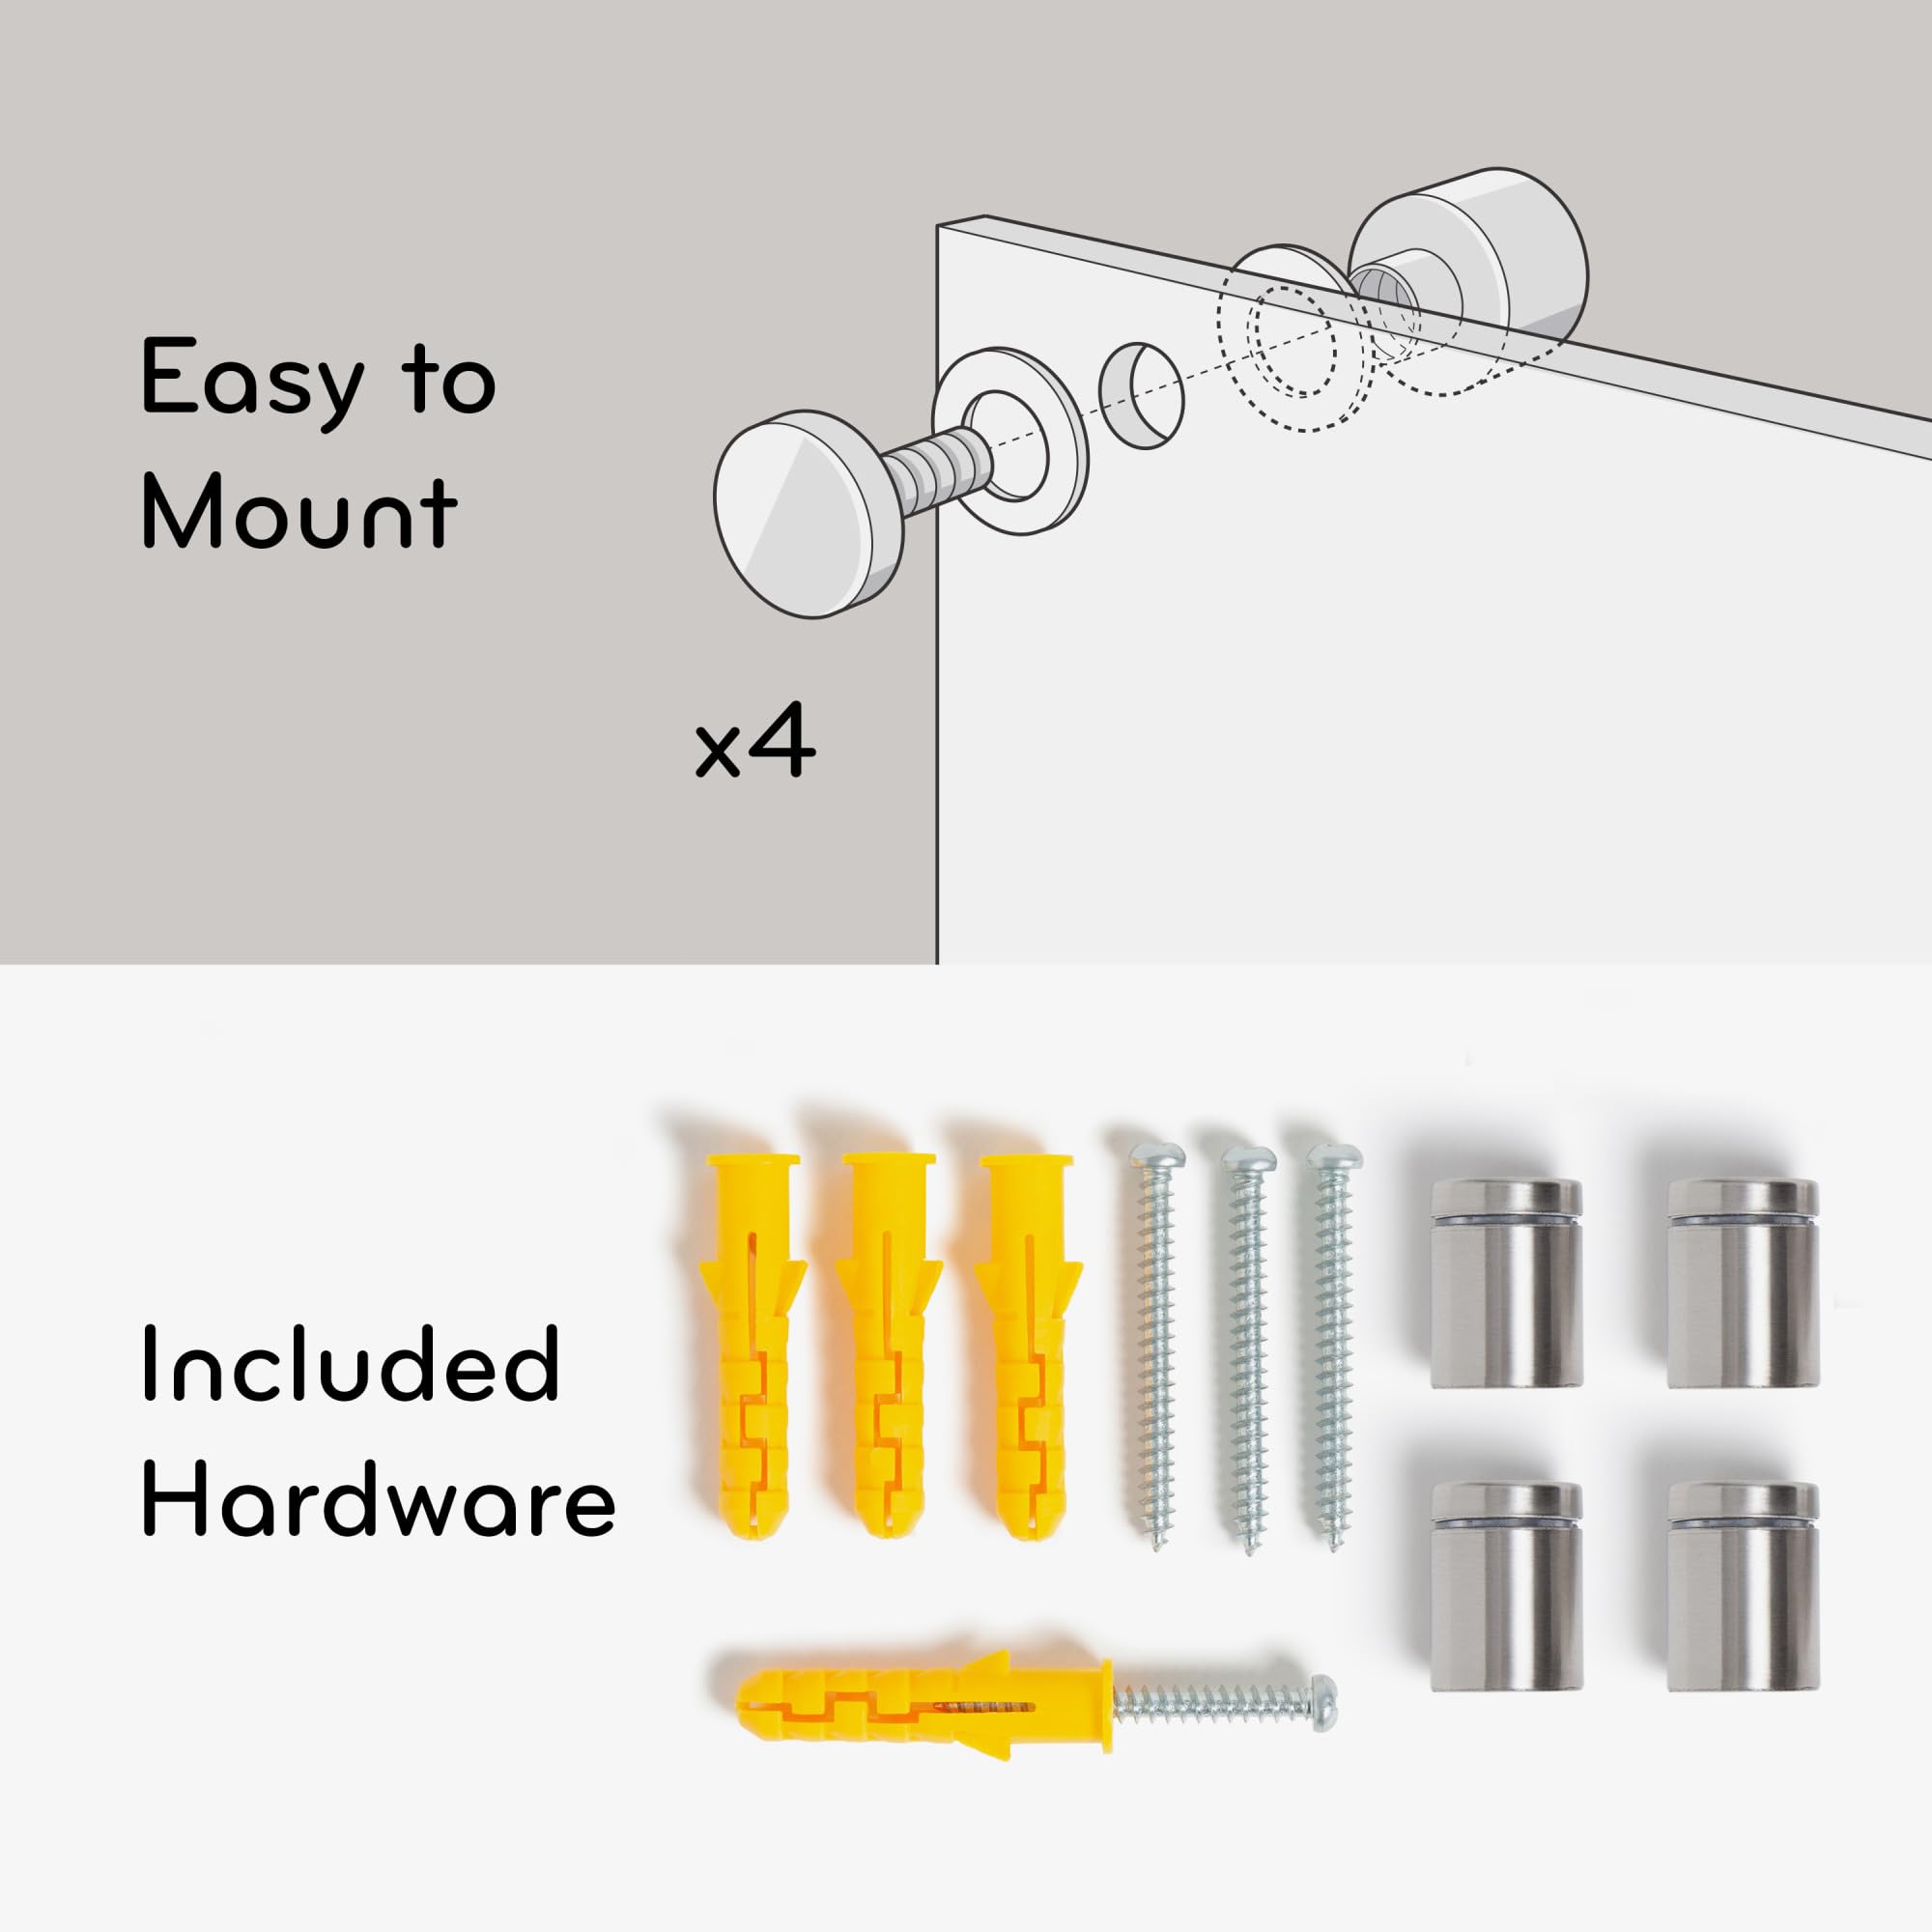
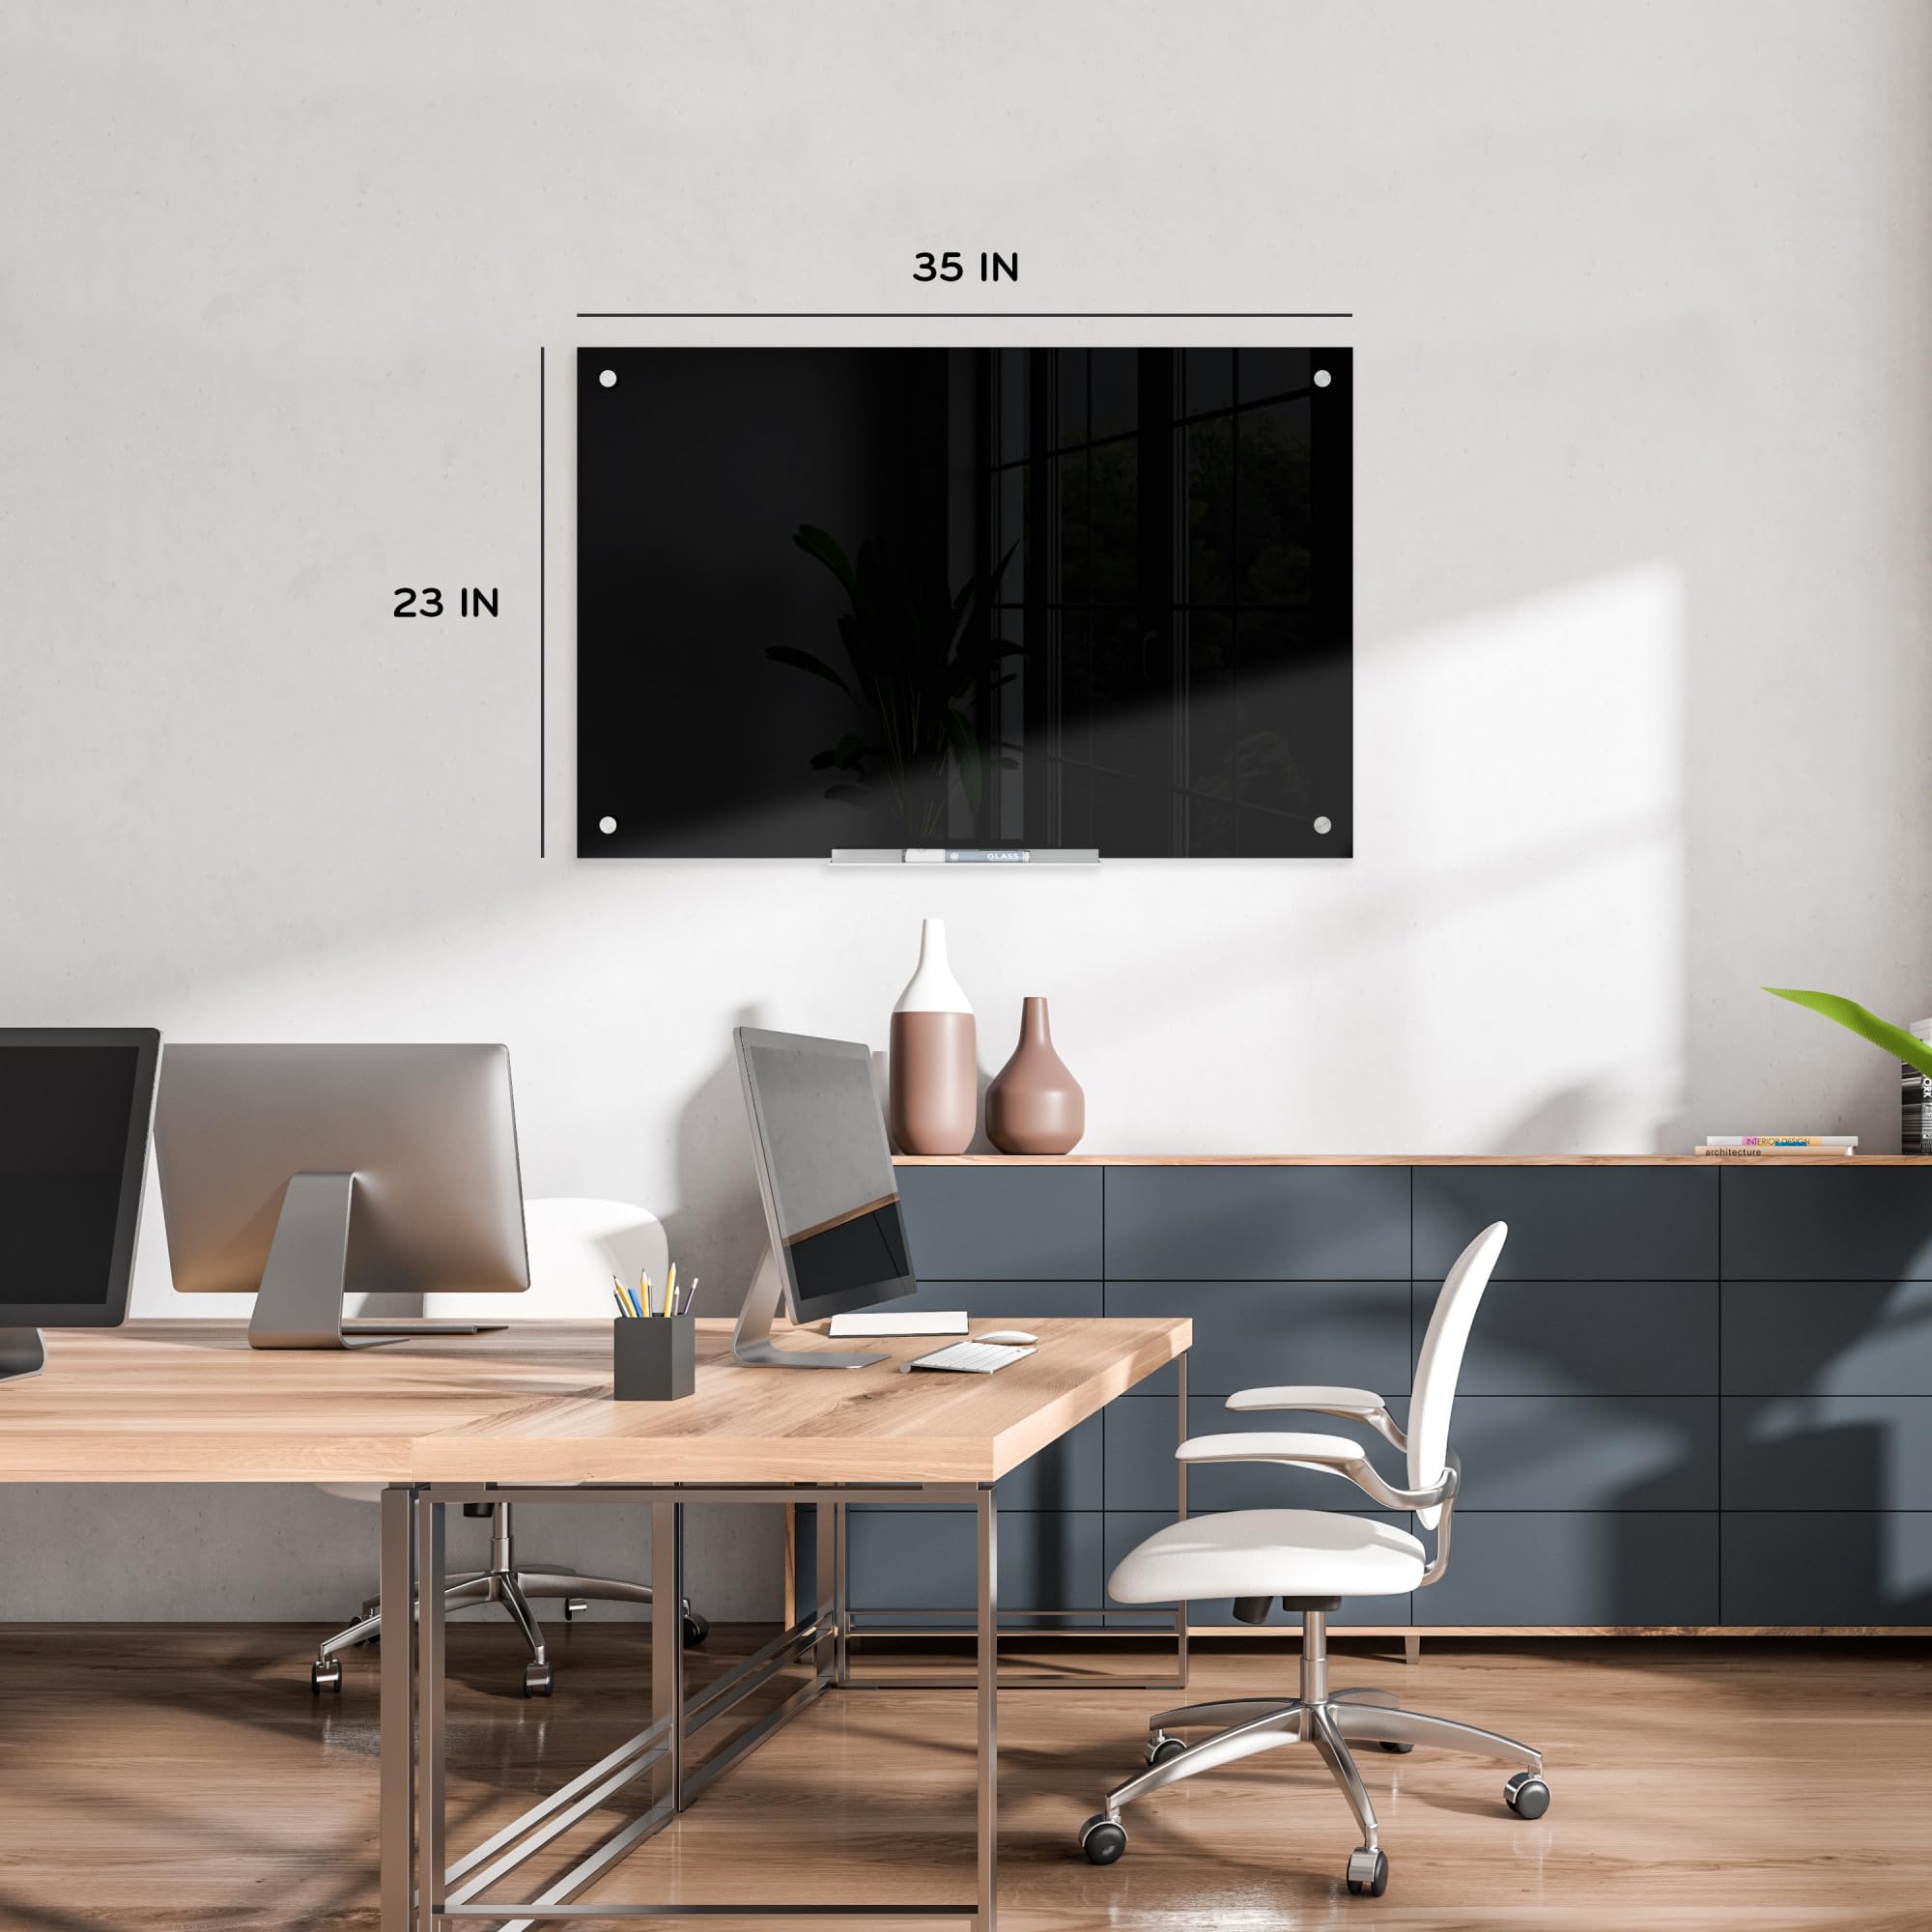
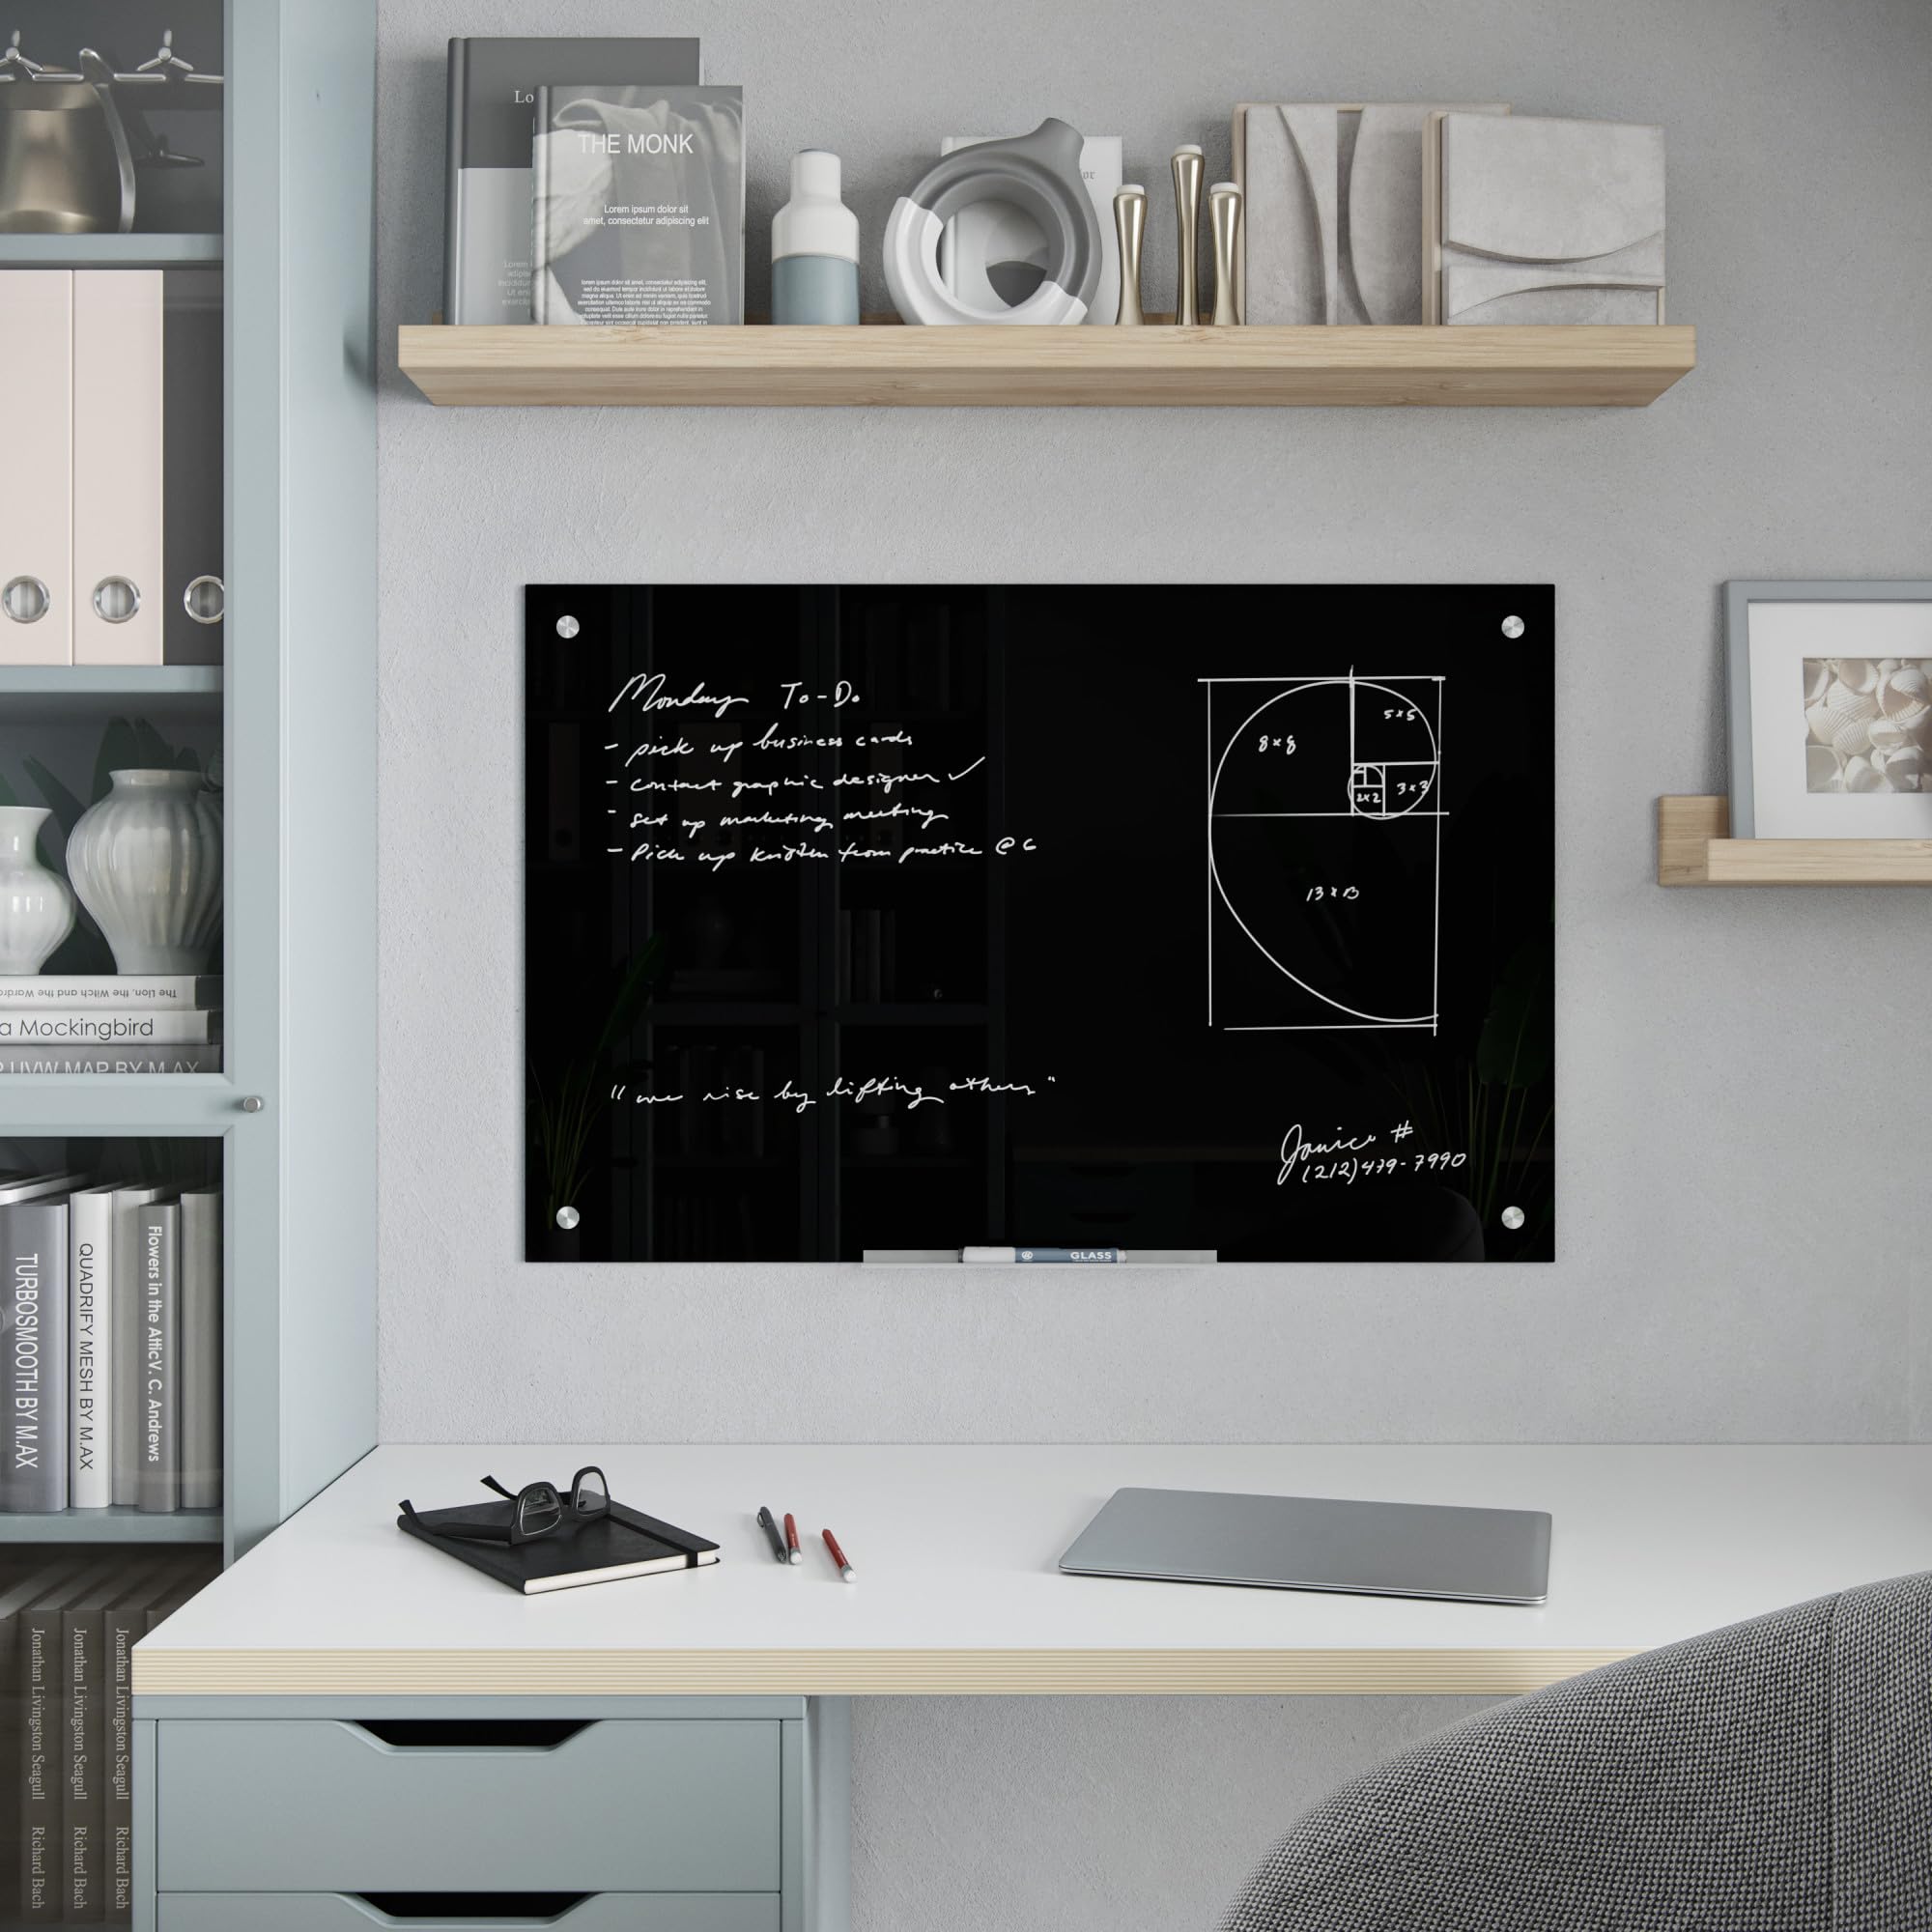
The U Brands 24" x 36" Black Glass Dry Erase Board combines a premium tempered glass surface with a frameless design and silver grommets for a stylish, durable, and safe writing experience. Its high-contrast black surface enhances visibility of neon markers, while the stain- and ghost-resistant technology ensures a clean slate every time. Easy to mount vertically or horizontally with included hardware, it comes complete with a marker featuring a built-in eraser and an aluminum tray, making it a perfect productivity tool for offices, classrooms, and home workspaces.


| ASIN | B00PRZ292K |
| Additional Features | Stain Resistant |
| Best Sellers Rank | #25,572 in Office Products ( See Top 100 in Office Products ) #302 in Dry Erase Boards |
| Brand Name | U Brands |
| Color | Black |
| Customer Reviews | 4.6 out of 5 stars 1,711 Reviews |
| Frame Material | Alloy Steel |
| Global Trade Identification Number | 10812296021709 |
| Included Components | Marker, Marker Tray |
| Item Dimensions W x H | 36"W x 24"H |
| Item Height | 1 inches |
| Item Type Name | Dry Erase Boards |
| Item Weight | 10 Pounds |
| Manufacturer | U BRANDS |
| Material Type | Glass |
| Mounting Type | Wall Mount |
| Occasion | Birthday |
| Orientation | Vertical |
| Recommended Uses For Product | Community Center, Home, Office, School |
| Target Audience | Business Professional, Parent, Student, Teacher |
| Warranty Description | Contact Manufacturer |
| Writing Board Type | Whiteboard |
T**R
Great Value for sleek and modern whiteboard
What's in the box? A well protected sheet of black glass, small box with parts and the aluminum tray (which holds markers) and a single sheet with install instructions. If you are a noob on assembly for products, you may find it challenging to figure out the basic instructions, but I imagine 90% of you that have built a few things can figure it out. For example, they show a simple picture of drilling a hole, but they don't tell you to use a 1/4 " drill bit. I had to figure it out. Assembly is very simple. Take the glass out of the box, hold it onto the wall where you want it (balance a ;eve; on the top to be sure it is straight... and ANOTHER PERSON should draw marks on the wall through the circles in the glass while person #1 holds the glass from moving. This would be tough to do with 1. I imagine you could balance the glass on a night stand carefully ot some other structure that is stable that can go up against the wall. Once your marks are on the wall, the rest goes pretty smoothly. Drill your 1/4" holes, hammer in the molly brackets, screw in the screws (through the metal 'pipes'), place the glass in place where you want it and screw in the end caps. Lastly two small pieces of rubber tape grip the glass at the bottom and you slide on the marker tray to a perfect snug fit. Total install took about 15 minutes. It looks great! Sleek sheet of black glass with 4 metal caps in the corners. It goes with my high-tech theme in my office and I've placed it within reach of my arms while seated in a chair. Easy to scribe notes and to-do's with colored markers (meant for glass). Worth the $43 by a long shot! As long as you are accurate with your marks when holding up the glass (as a template) and drill accurately, it's a perfect fit most anyone can do.
J**Y
Easy installation and such great quality
Oh my God, I love this. It took me just a few minutes to hang it up and it’s such quality.
A**R
Functional Glass-board
Nice glass-board. The only complains are: a little wobbly in the middle as I write; lacking of paper template to help with marking/drilling! (I recommend new users to use its box to guide your marking/drilling/balancing); the included wall anchors failed.. for me, which I replaced with EZ Drywall Anchors from Home Depot; black glassboard has bad reflection (pic). Side notes: it’s heavy for one-man installation (def. don’t recommend it), although I installed it solo using my bookshelf and a few books to support the weight. Otherwise, aesthetically looks great, orange marker is more visible than white, wet paper towel or wet uBrand eraser works great at erasing and removing marker residues... overall 4.5 to 5 stars.
C**G
Board comes with bonus content
5 stars for how nice this looks on the wall. 3 stars for installation - I tried to create my own template but if your drill hole is a millimeter off you’ve ruined the install (and your wall). A simple printed to scale template included with packing materials would cost a penny and would make the install much easier and save time. 5 stars for durability. I was concerned about mounting glass to the wall but the materials included seem sufficient for safety. If anyone is wondering if you can use mounting tape - don’t. You really need to use the wall anchors even if the glass isn’t heavy (I got the small one). This would leave my review at 4 stars average but this bad boy is getting a bonus star. Why? Because I did not realize when purchasing it that it is super reflective. I know, it’s black glass and that should be common sense. However, in the hour long swearing and anger tirade I noticed the mirror started humming a bit. As I was hanging it with little assistance from my 11 year old, this beautiful man creature stepped through the glass and offered to assist me. With his guidance we got it securely fastened to the wall. He then offered me a cold beverage and light snack which I accepted. Apparently that means we are now engaged in the Fae realm but life’s been a bit lonely in quarantine and I’m okay with our arrangement. I installed this for my child to use to do his math work and he is now telling me these little creatures on the other side are helping him figure out long division. He also speaks Latin fluently all of a sudden. I’m tossing an extra star on this review due to bonus content the manufacturer did not disclose.
V**P
Decent product, painful installation
This is for the larger, 70x35 board. Generally, I like it. I use Expo Neon markers, and they work well, except for one color, which may just be bad pen. Delivery ----------- Packaging, as was mentioned, was a bit sloppy, but the glass came unscathed, so that was good. It consists of the board with mounting hardware preattached, a few screws and wall anchors, a metal shelf, and a page of fairly useless cartoon-like instructions. It was also supposed to contain some clips to attach the shelf to the board (based on the instructions), but I'm missing those, so I'm not yet using the tray. Installation -------------- Installation for such a big board is awful. The glass is predrilled, but the holes have nearly zero play, so you must get everything perfectly marked and drilled. Your anchor going a millimeter or two off center (which is possible, as you punch it in) will make your installation fail. It could've been a little nicer if they took pitty on us and created some installation method which allowed a little play. Furthermore, it would also have been nice if they calculated the hole spacing to coincide with US framing code. alas, you'll probably be lucky to get one, maybe two studs, you will need to use anchors for part of the installation. Speaking of the anchors, I hated the anchors included. Every time I tried to use it, I had some play with the supplied screws. I went to Home Depot and picked up some of the screw-in anchors, and they worked much better. Incidentally, if you strip a screw you will have trouble replacing it, since they need to have a fairly small mushroom head to fit in the standoffs. The screws from the anchors from HD may work in a pinch, since they did fit in the standoff, but they were shorter than the supplied ones. So enhancement suggestion #2, they should consider using different standoffs that allow for more standard, beefier screws. Since the board in this size is a bit heavy, you will need two people at lest. You may also end up scratching the paint around the mounting holes while you try to coerce it into the standoffs. In most cases, the standoff caps will cover the scratches. If not, you can probably touch it up with some black flat paint. I touched up one little ding with the a black "Sharpie Oil-based pen" I found at HD, but it turned out I didn't need to since the cap covered it. There are various installation suggestions, but here's my best suggestion, after a lot of trial and error: install the bottom standoffs and line them up. I used a line of masking tape to pick up the pattern from the glass, leveled it, and double checked it with tailore tape. Then I put the board on the wall, coerce it into the bottom standoffs, placed the top standoffs behind the glass in their final position, and drilled a small pilot hole through the top standoffs. Removed the board, permanently installed the top standoffs, then mounted the board. As a warning, don't count on the hole spacing to be perfect. It turns out that during my first try I failed to notice that the middle-to-right hole distance was 2mm longer than the middle-to-left hole distance, and that threw off my install. Can't make a new hole 2mm next to the old hole. Patch all holes, make new holes. Oh, and since it's uneven, you have to designate one edge of the board as the bottom. Usage --------- It works well at what it's supposed to do. The Expo markers are easy to see, although in my fairly dim study some of the colors blend together. That just means I have to buy fewer colors, so it's okay. The glass is quite glossy, so it does have a mirror type reflection, which I initially thought would be annoying, but I got over it and it no longer bothers me. The board is not magnetic. Summary ------------- So my overall rating is four stars, heavily weighed by the end result, and overlooking most of the installation pain. Individual ratings: Packaging/Delivery: C+ - poor packaging, missing shelf clips, but overall made it here ok. Installation: D- - almost no margin for error, uneven hole spacing, bad anchors, hard to replace screws. Usage: A-, not magnetic, but works well, mirror-like finish may be a little annoying.
W**S
Sharp looking. Hanging was fine, but could/should be easier.
I've got this hanging in my home office. Arrived in perfect condition. Box says 2-person carry required, so of course, one person walked it into the house. I read the reviews before buying this, and I broadly agree with the observations that others have made: 1) It looks great. The gloss black finish is sharp looking, classy, and understated. 2) Bigger is better. I got the 70x35 size, and it fits great on a 75" wall. 3) It could really use a template to help with hanging. I'll expand on this point more.... I've hung lots of things, and that's some of the easiest handiwork I've done. I'm truly no stranger to building things, including framing, finishing, and so on. So, this wasn't all that tough, but it would have been easier with a little documentation help that included a paper template that I could tape to the wall. As it was, I spent 30 minutes measuring everything and remeasuring everything prior to mounting. The directions suggest that you use the board itself as a template, but I disagree with that approach because the board is glass, fairly thin, and it would take 3 people to safely do that. I recalled another user's post in which the glass broke, so I handled it as little as possible. But anyway, it's up, and it looks nice. Bought the neon markers for it. Might come back and post a picture.
R**O
Excellent board, installation did take some time
This board looks fantastic! It is glossy and looks like a TV attached to the wall. I read through reviews about the installation and picked up some tips & have one to add (pushpins!). It took much longer than I thought it would and ended up having to put new wall anchors. Definitely use sturdy wall anchors, I ended up with ones that can support 75lb. Here are the steps we ended up taking - Put styrofoam behind board and mark the four holes. - Put marked styrofoam against wall, level, then use a bradawal to mark holes on wall. - Put pushpins in the four holes on wall. - Hover board over the wall and ensure pushpins line up in board holes, adjust pushpins. - Put in bottom two drywall anchors & the two bases. - Put board on bottom two, but don't fasten. Ensure the two top pushpins line up in the top two holes. Adjust pushpins, if needed. - Put in top two drywall anchors & the remaining two bases. - Put board on all four bases, secure with fasteners. Good luck!
N**O
Prep is everything
I am so glad I read the many reviews warning about the installation process! To make up for the lack of a template I used one of the two foam sheets that came with the packaging. With the board on top of the foam sheet I marked the center of the holes on the foam. Critical to be accurate here as there is1/8 inch tolerance. I then hung the foam sheet on the wall with two pieces of painters tape and having levelled it, drilled the holes. I hung the board on my own (Saturday in the office :-). Can be done with a chair to rest the board on and accurately placed hardware. But easier to lift into place with two people. The board looks great! Far more modern than whiteboards. I use liquid chalk pens in nice bright colors. Board wipes perfectly clean - no ghosting. I give it five stars because I'm so happy with the result and avoided the pitfalls of installation thanks to the other reviewers.
Trustpilot
2 weeks ago
3 weeks ago


