


🚽 Upgrade your flush game with Kohler precision – because your throne deserves the best!
The Kohler 84996 Flush Valve is a genuine OEM replacement part designed for San Raphael and other low boy Kohler toilets. Featuring a precision-fit valve body with adjustable tangs and a durable nickel finish, it ensures reliable flushing performance. Despite minor installation adjustments sometimes needed due to ceramic variances, this compact, lightweight valve offers a seamless upgrade for hassle-free maintenance and long-term durability.
| ASIN | B003H49PFM |
| Batteries Included? | No |
| Batteries Required? | No |
| Best Sellers Rank | #159,178 in Tools & Home Improvement ( See Top 100 in Tools & Home Improvement ) #218 in Toilet Flush Valves #14,473 in Kitchen & Bath Fixtures |
| Brand | Kohler |
| Color | Black |
| Customer Reviews | 4.5 4.5 out of 5 stars (355) |
| Date First Available | April 14, 2010 |
| Exterior Finish | Nickel |
| Global Trade Identification Number | 00040688984568 |
| Included Components | Product Only |
| Inlet Connection Type | Threaded |
| Is Discontinued By Manufacturer | No |
| Item Package Quantity | 1 |
| Item Weight | 0.01 ounces |
| Item dimensions L x W x H | 10 x 8.5 x 4.5 inches |
| Item model number | 84996 |
| Manufacturer | KOHLER |
| Material | Other |
| Number of Ports | 2 |
| Outlet Connection Size | 3 Inches |
| Outlet Connection Type | NPT |
| Part Number | 04-2304 |
| Product Dimensions | 10 x 8.5 x 4.5 inches |
| UPC | 040688984568 785533750690 |
S**T
Works as well as the original. Thanks...
A little difficult to install but works great.
A**N
Steps for installation success
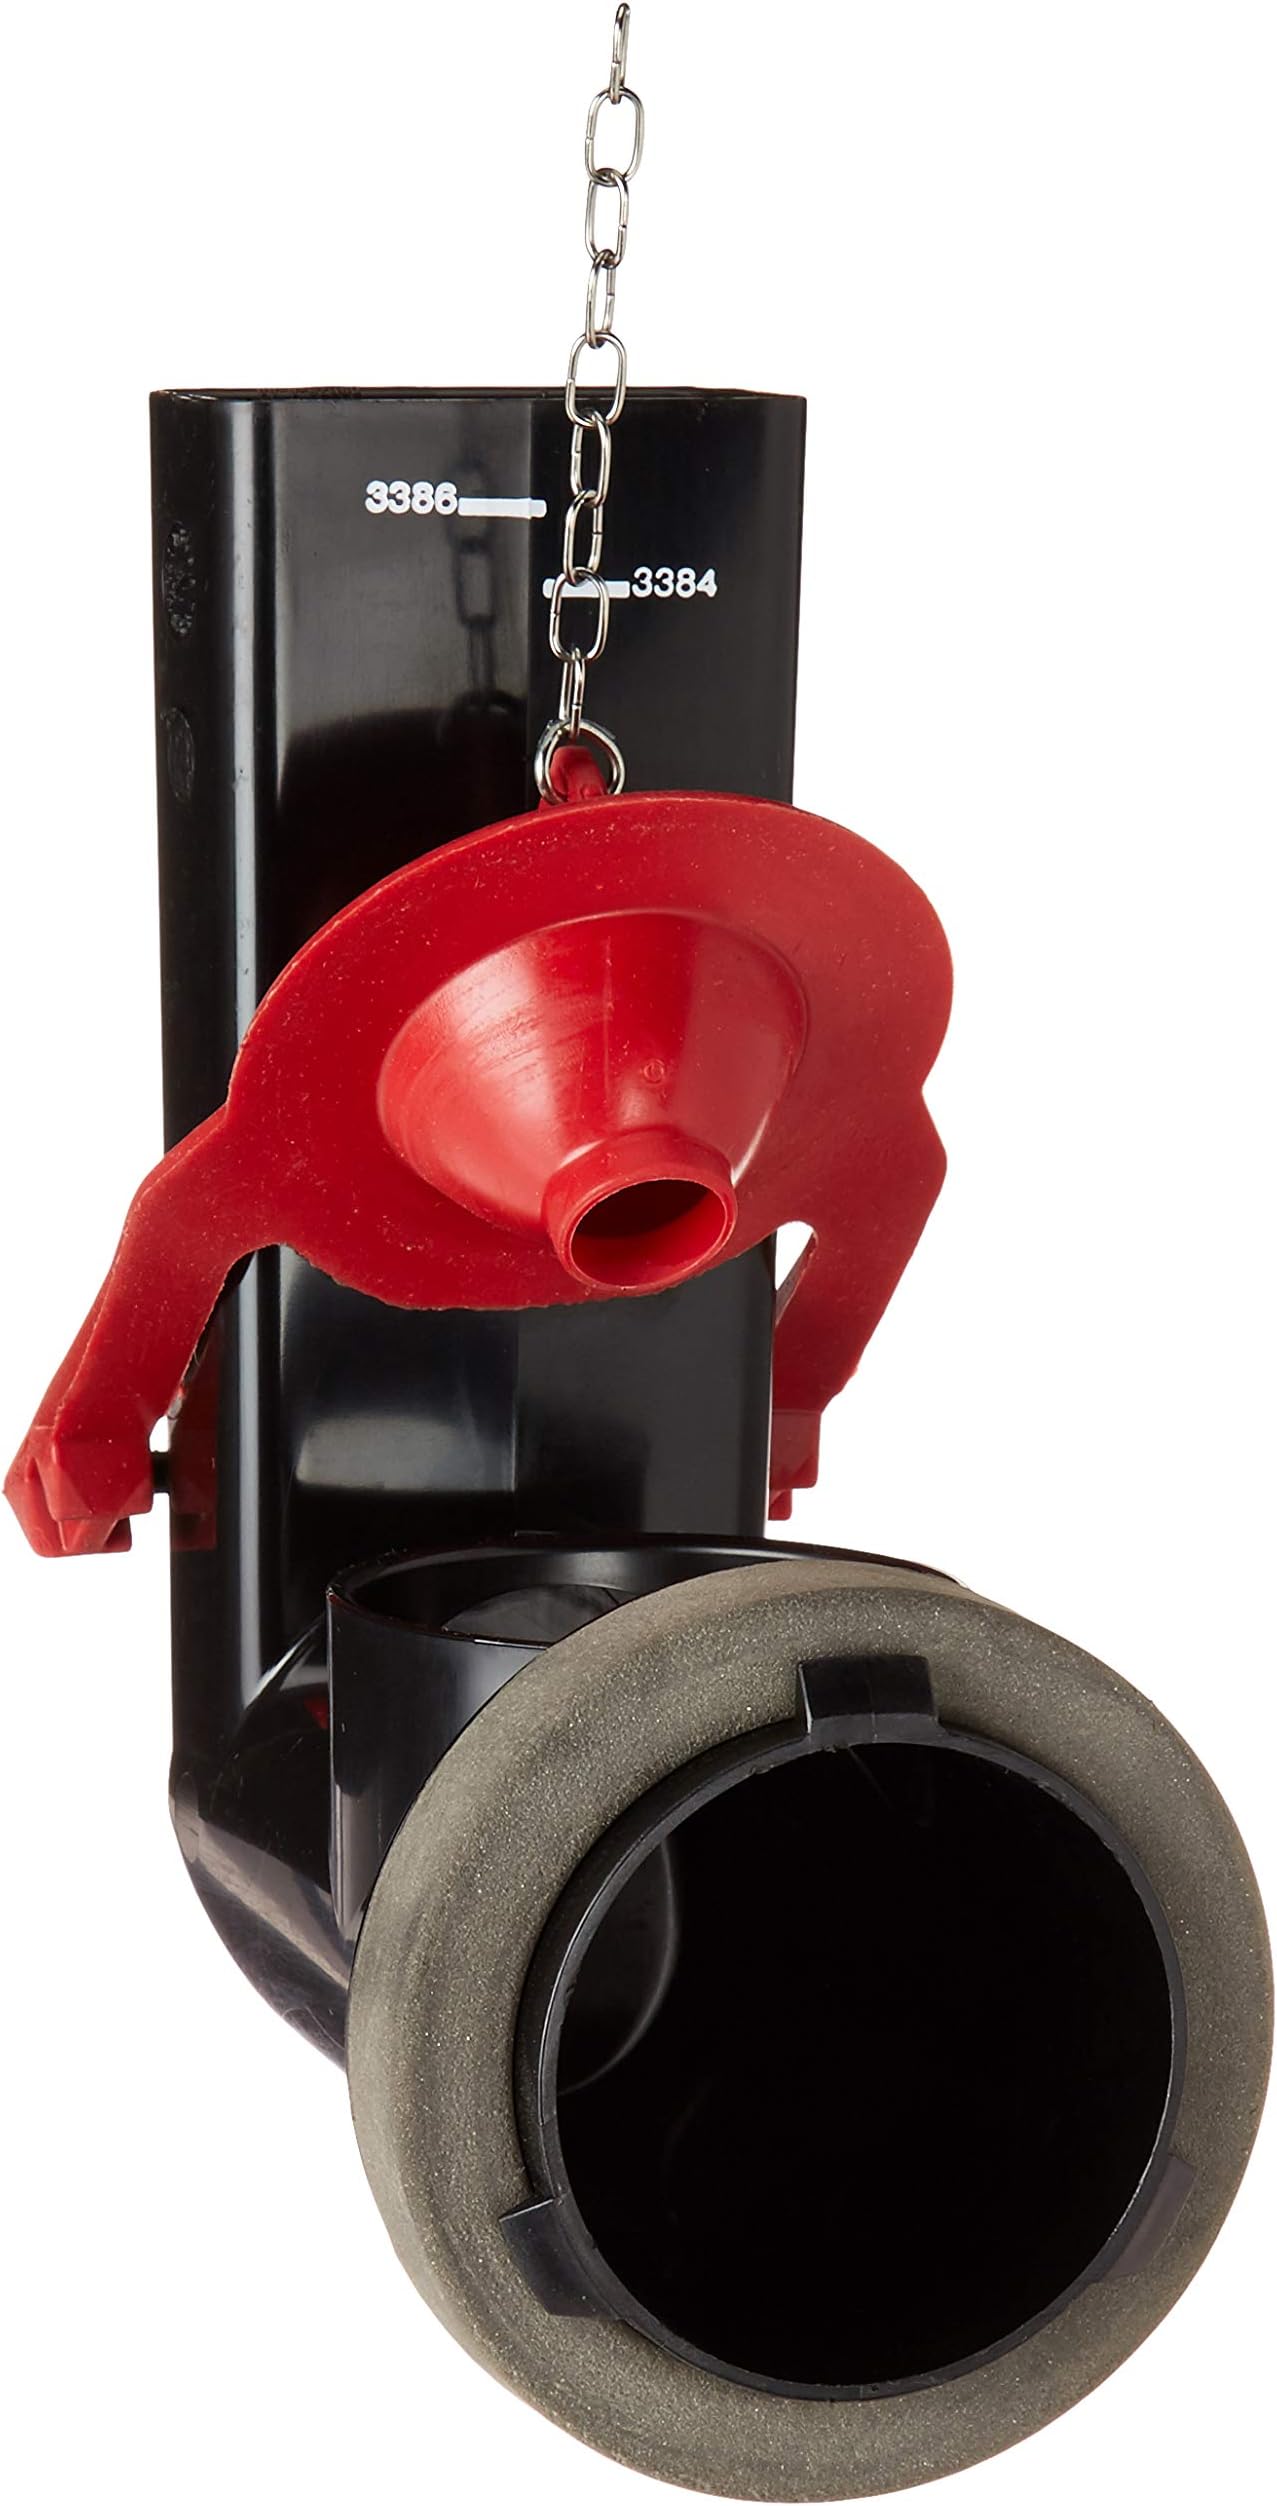
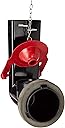
The internals of these toilets are not precision manufactured and slight imperfections in the ceramic can make it such that your new value won't fit without a little "adjusting". Follow these steps for a fairly straightforward install: Tools needed: a small file, utility knife, small hammer with a wooden handle (the kind where it's a little wider in one direction than the other) Step 0: Turn off the water supply to your toilet and flush it. Step 1: Remove the black seal from the new valve body. Attempt to dry fit the new value body by lining up the tangs when inserting it into the toilet's tank. Twist it back to vertical to fully lock the tangs into the toilet's tank. If you encounter tightness or issues getting it into place lightly file or sand around the edges of the round opening on the new valve body. You may also need to file or cut small amounts away from the valve body tangs to get it to fit your toilet perfectly. Observe the tangs on your old valve body to see if there are indicators of where adjustment may be needed on the new one. Step 2: Install the black seal onto the new valve body, remove the red flusher ball and the black axle that connects it to the back of the valve body. Step 3: Place the valve body into the toilet's tank, lining up the tangs so that you are ready to start installation. Insert the wooden handle of the hammer between the valve body and the back of the toilet tank. By twisting the hammer, it should apply enough force to the valve body to compress the black seal and drive the valve body deep into its hole. Finally, use your other hand to turn the valve body back to standing vertically, locking its tangs into place inside the toilet. Step 4: Connect one side of the red flusher ball back onto the plastic axle, then slide the axle back into the appropriate slot on the back of the valve body. With the axle fully inserted you can now connect the other side of the red flusher ball to the black axle. Step 5: Connect the chain to your flusher lever. Step 6: Insider the fill line back into the top rectangular opening of the valve body. Turn on the water. Let your toilet fill, and then do some test flushes.
R**2
Flush valve can be changed...with effort and ingenuity
Valve works as advertised. As others have noted, not the easiest to install. However, unlike posted elsewhere, it does not need to be turned counter clockwise. It can be turned for removal in either direction. The slots in the porcelain are located at 2, 6 and 10 o'clock and the tabs on the valve are at 12, 4 and 8 o'clock. so you will need to rotate the one that is to be removed 45 degrees clockwise or counter clockwise (which ever way you have room to rotate it without hitting the filler valve) to line up the tabs with the slots. Being aware of the problems others noted with the thickness of the gasket ring making it difficult to push the new valve in far enough to allow the tabs to fully insert into the slots, I did soak it in warm water, but that did not help. What did help was placing the gasket on a flat surface (smooth floor), putting a cutting board on top o fit, then standing on the cutting board so my weight was evenly distributed over the gasket, compressing it. Did this for about a minute to one and a half minutes. Then quickly put the gasket back on the valve, aligned it so the fill spout was 45 degrees off vertical so the tabs and slots aligned. Using a washcloth so the flapper holder ridges would not cut into my hand, applied even pressure so all tabs went in the slots at the same time, then rotated the valve so the fill spout was in the vertical position. Waited a few minutes to allow complete re-expansion of the gasket. Turned on the feed valve, tank filled, no leaks. But between this (if I had not seen these previous reviews, may not have figured out the above solution) and the hassle I had previously trying to replace the toilet seat (internal screws with no access to bolts for removal). I will never purchase a Kohler toilet if the product engineering continues to be so user repair unfriendly.
D**O
Best toilet fix
Worked as described, stopped my toilet from constantly leaking water down the drain
H**D
Perfect for Kohler San Raphael one piece toilet.
Arrived quickly and had all parts needed. Perfect fit.
P**S
Good quality but impossible to fit
This is the exact replacement part for my model of toilet. It is fitted into the front face of the toilet take near the bottom. This means reaching deep into the tank and pulling the valve toward you to compress it's seal enough to twist it into place. This is impossible. The thickness of the porcelain where the valve fits, plus the thickness of the sealing ring provided plus the lack of room to get any pressure or leverage negates any possibility of a person applying enough pressure to compress the sealing ring enough to get the valve locked in. Also, such pressure would probably damage the valve. I had to cut the thickness of the sealing ring down by a third before I could fit it - just! Luckily I understood the problem and had the tools to make the ring thinner without compromising it's ability to form a seal. I'm assuming that in the factory the seal is fitted by machine or the toilet is positioned in such a way that a strong person could get the leverage to do it.
F**H
Pain in the butt to install, but is the correct part...
This replaced the identical flush valve in my 1996 Rialto K3386 toilet. It was very difficult to install with the fresh and firm gasket. The problem turned out to be the thickness of the wall of the tank, which made it impossible to turn the valve into the upright position after threading the teeth into the 3 notches on the toilet wall. I could feel that the porcelain had little irregularities that made it too thick such that forcing the valve to turn could break off the plastic teeth (which is why I had to replace the old one). So I chipped the irregularities away and ground one one difficult one down with my Dremel. Finally, after much swearing, it threaded into place. I wanted to replace this toilet because it's too low and uses too much water. But now I'm stuck with it, it is in better shape than ever.
H**T
Works as expected, need "strong" arms to install for sure!
J**B
Exactly what I needed for my toilet. Easy to instal
W**A
Good product, fit was tight to install but works as it should. I would buy again if needed.
D**D
Ensemble équivalent à celui remplacé. S'assurer de suivre les instructions incluses et d'y mettre une bonne pression lors de l'installation.
A**R
Easy to install.
Trustpilot
2 weeks ago
5 days ago